Sign up, start your free trial and create a workspace for your team. It takes a couple of minutes.
Create your account
Open NoteMaker and choose Create account.
Enter your name, email and a password. If your organisation allows it, you can also continue with Google, Microsoft or GitHub.
Choose how to start. You can begin a free trial, or pick a plan right away. The trial lasts 14 days and needs no card.
If you are asked to confirm your email, open the message we sent you and follow the link.
Each person gets one free trial. If you have already used yours, you will be asked to choose a plan when you create a new workspace.
Create your workspace
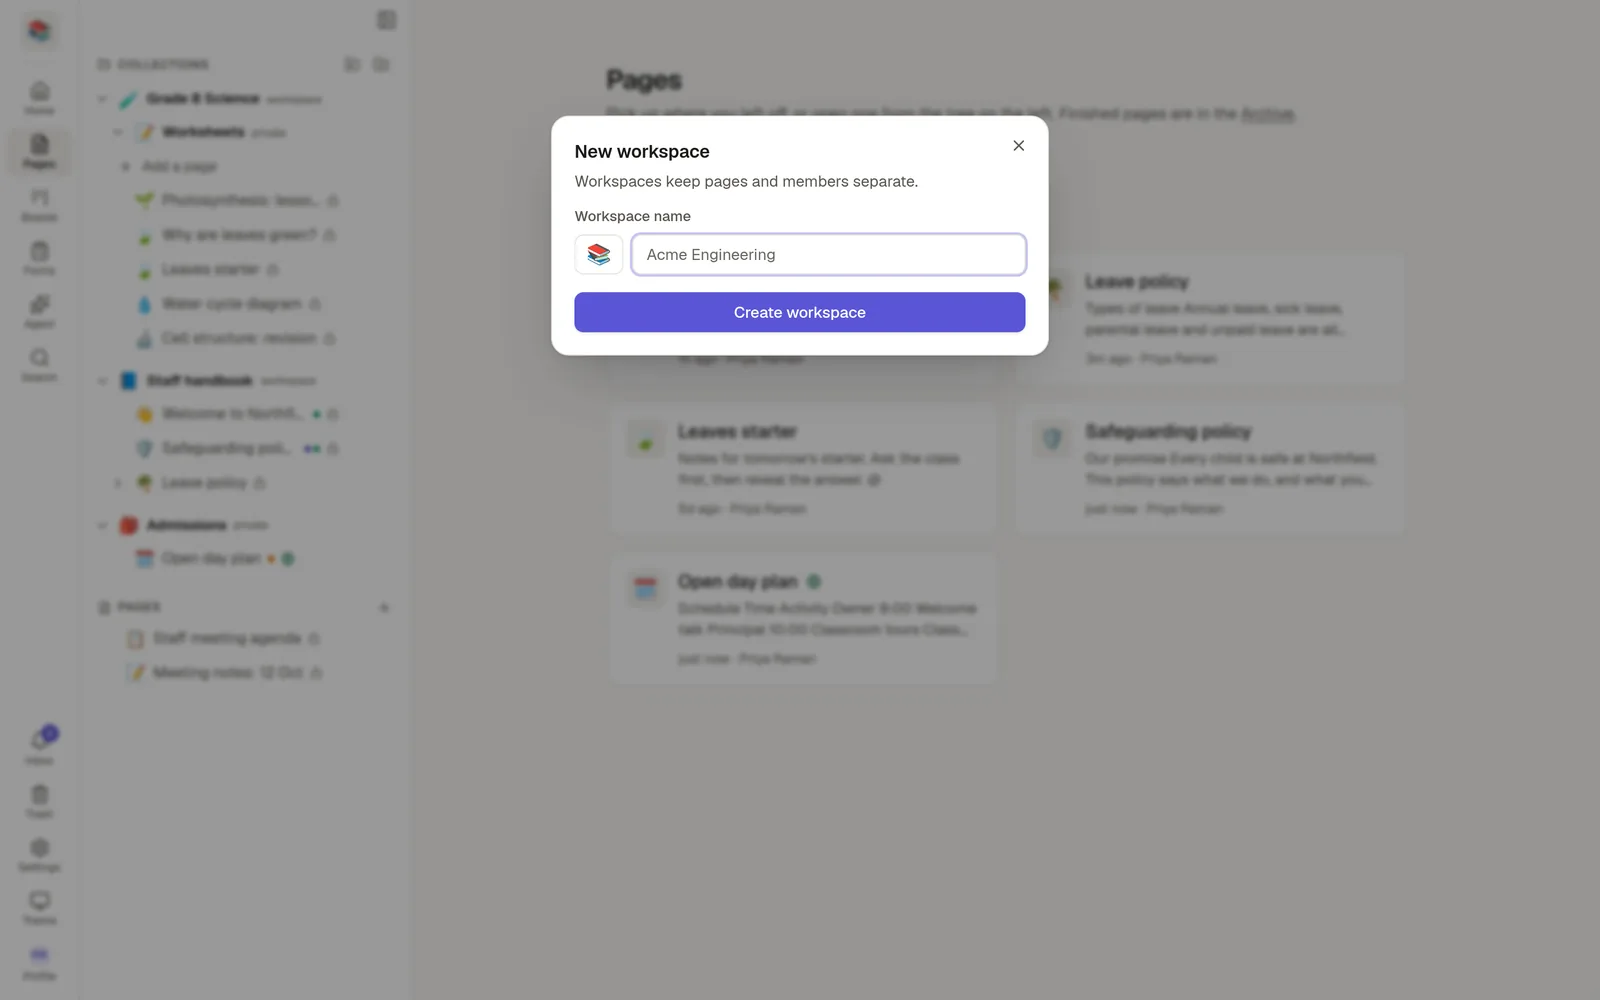
A workspace is the shared space for one team. It has its own pages, members, forms and settings, separate from every other workspace.
Give the workspace a name, for example the name of your school, company or project.
Choose Create workspace.
Your workspace opens on the Home screen. Its address is your workspace name in lower case, for example /northfield-school, which you can change later in Settings → General.
Join an existing workspace instead
If a colleague invited you, open their invite link or enter the invite code on the Join screen. You will be added to their workspace, and you do not need to create one yourself. 👥 Invite your team explains how to send invites.
Add another workspace later
Click the workspace icon at the top of the left rail. It lists every workspace you belong to. Choose New workspace at the bottom to start another one, or pick a workspace from the list to switch to it.
Tip: keep one workspace per team or client. Members, billing and settings are separate for each, so people only see what they belong to.